Make your own Fairy Wings
- Posted on
- By Debby
- 0
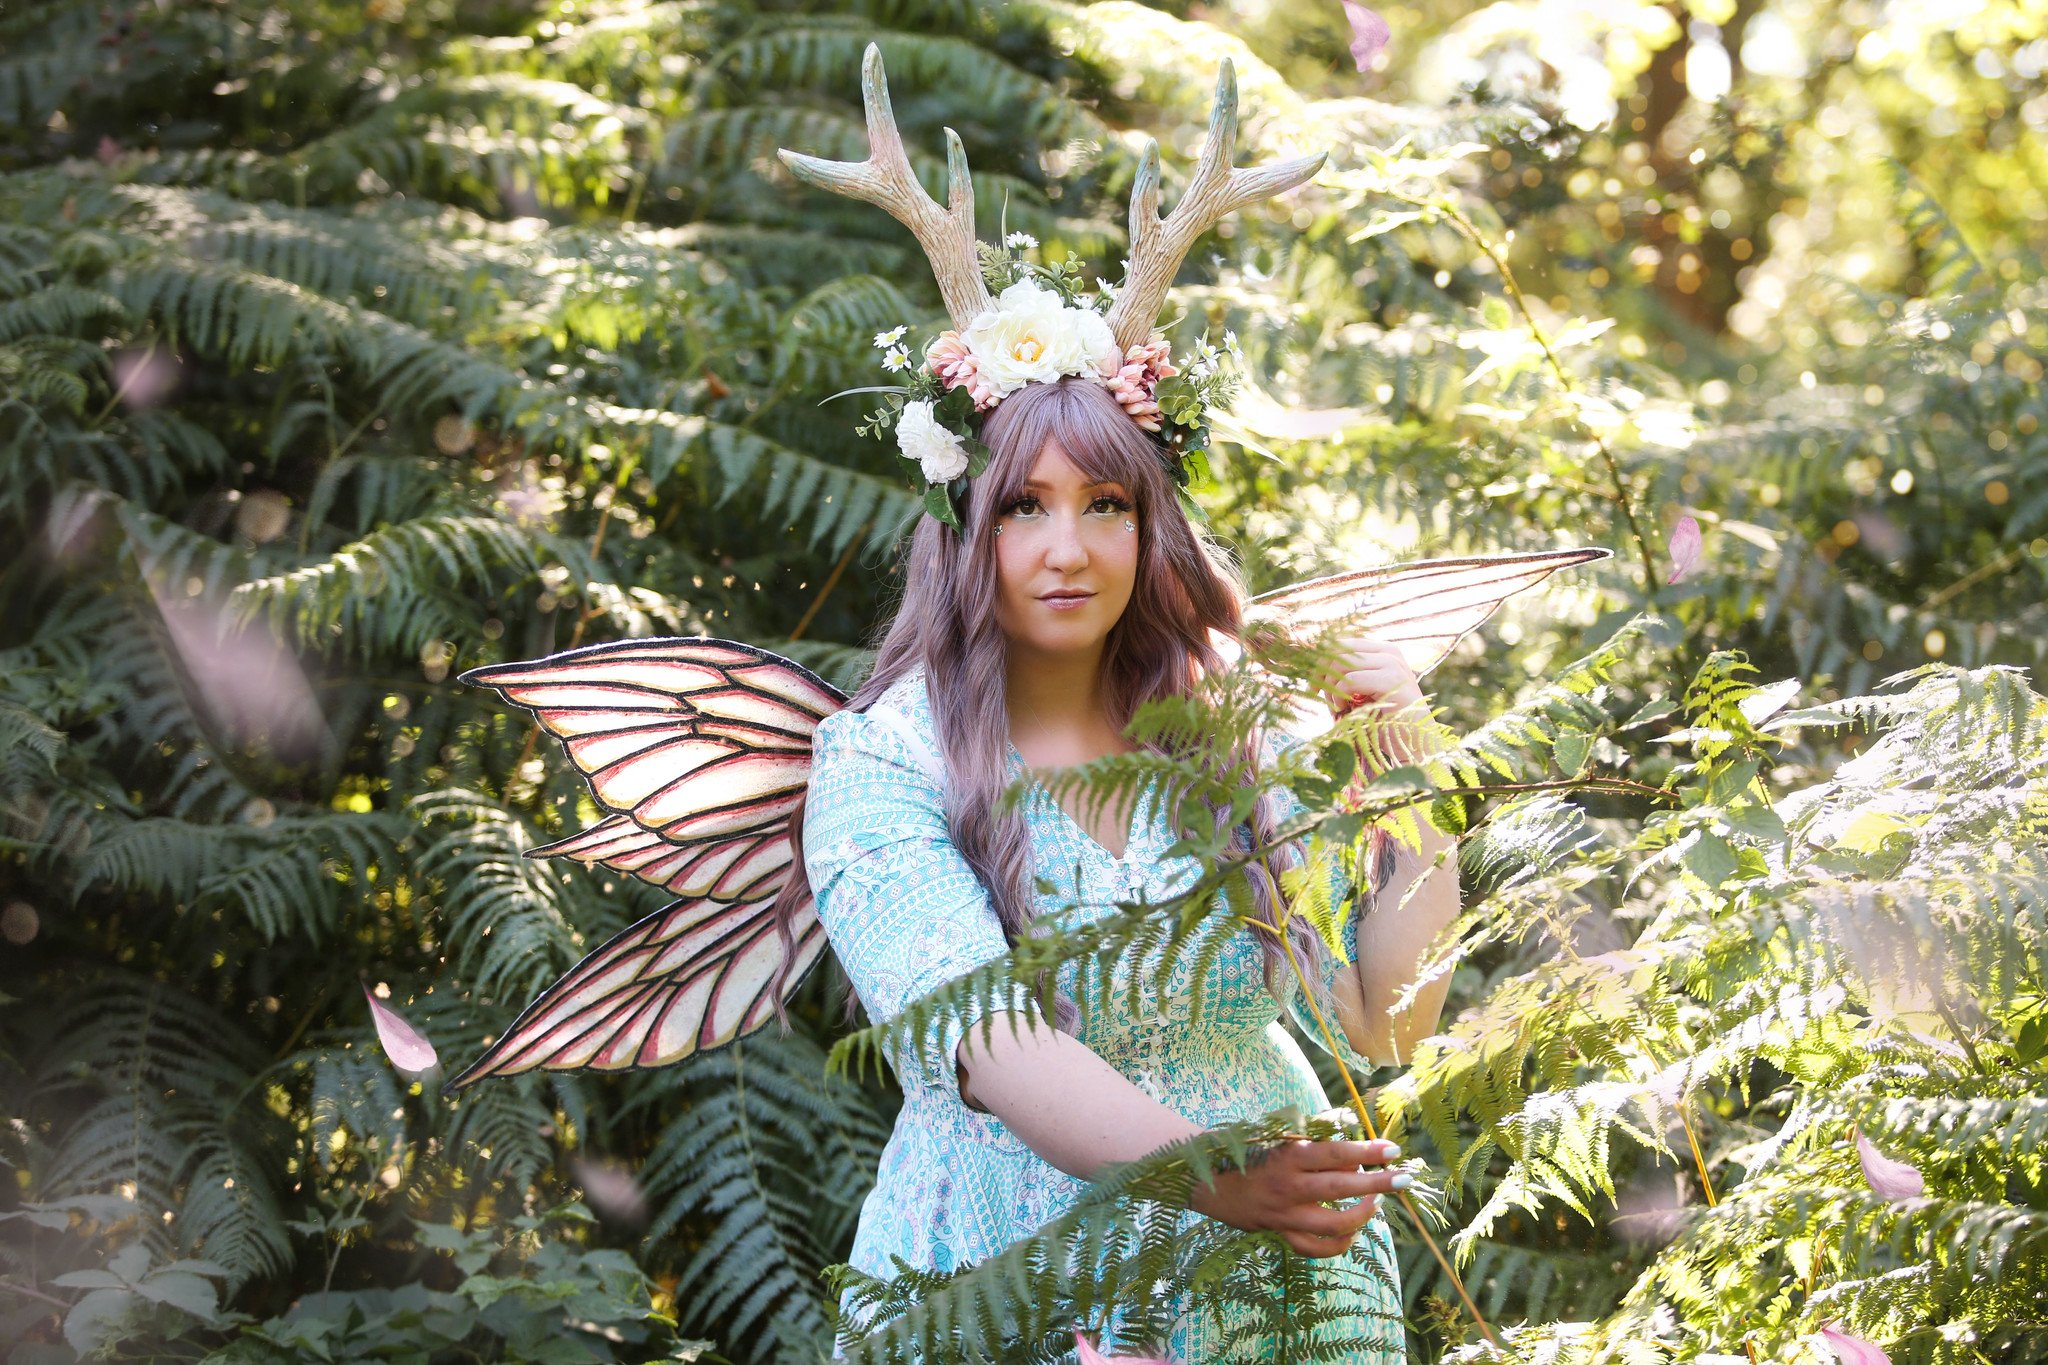
This blog contains a tutorial to make similar Fairy Wings yourself step by step and what materials were used for this.
1. First, I went looking for a pattern for the Fairy Wings and found and bought it on Etsy. You can also choose to make your own pattern, I chose to buy one because of time savings. I then printed out the pattern at the size I wanted so I could clearly see how big the sheets of Worbla Transpa Art should be.
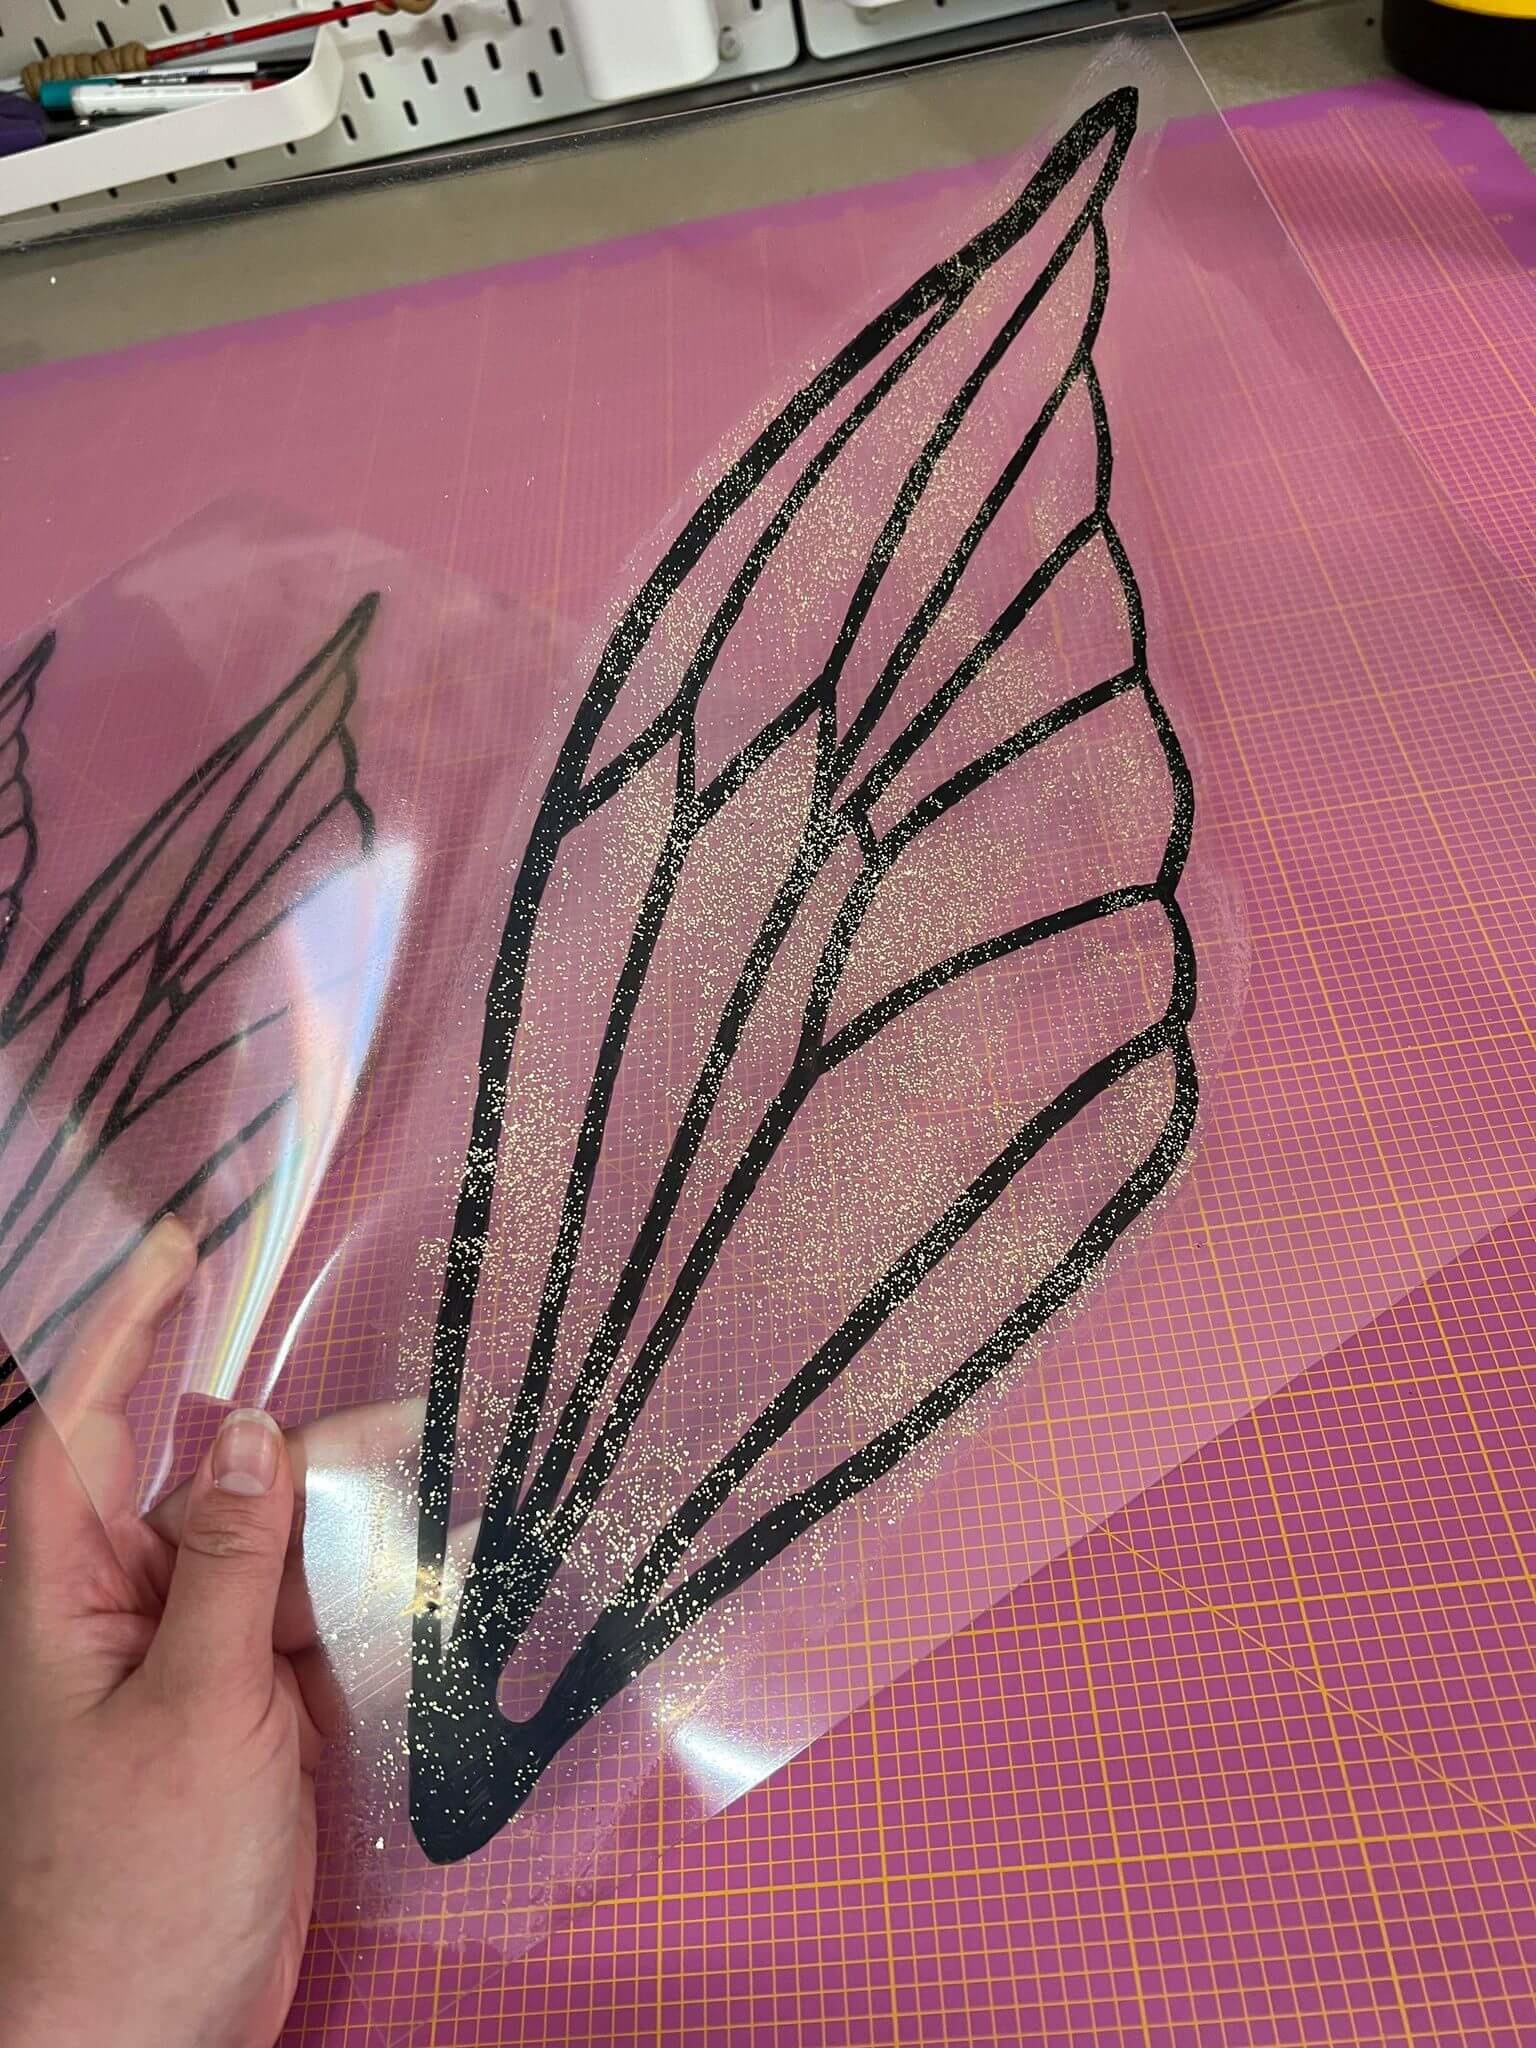
2. For my pattern, I needed 4 sheets of 50 x 37.5 cm Worbla Transpa Art and placed the paper pattern underneath and taped it to the bottom. I then traced all the black lines 2x with a black waterproof marker. I also did this 2x on the other side of the Worbla, so that the black lines covered well and were no longer translucent.
3. After all parts of my wings were well traced, I chose to continue working with Minque PVA Primer to apply several layers to my wings for a nice 3D effect. I start by working on one side of the wings first, which will become the backside. At step 7, I only start working on the other side of the wings, the frontside (where the wing foil will be glued).

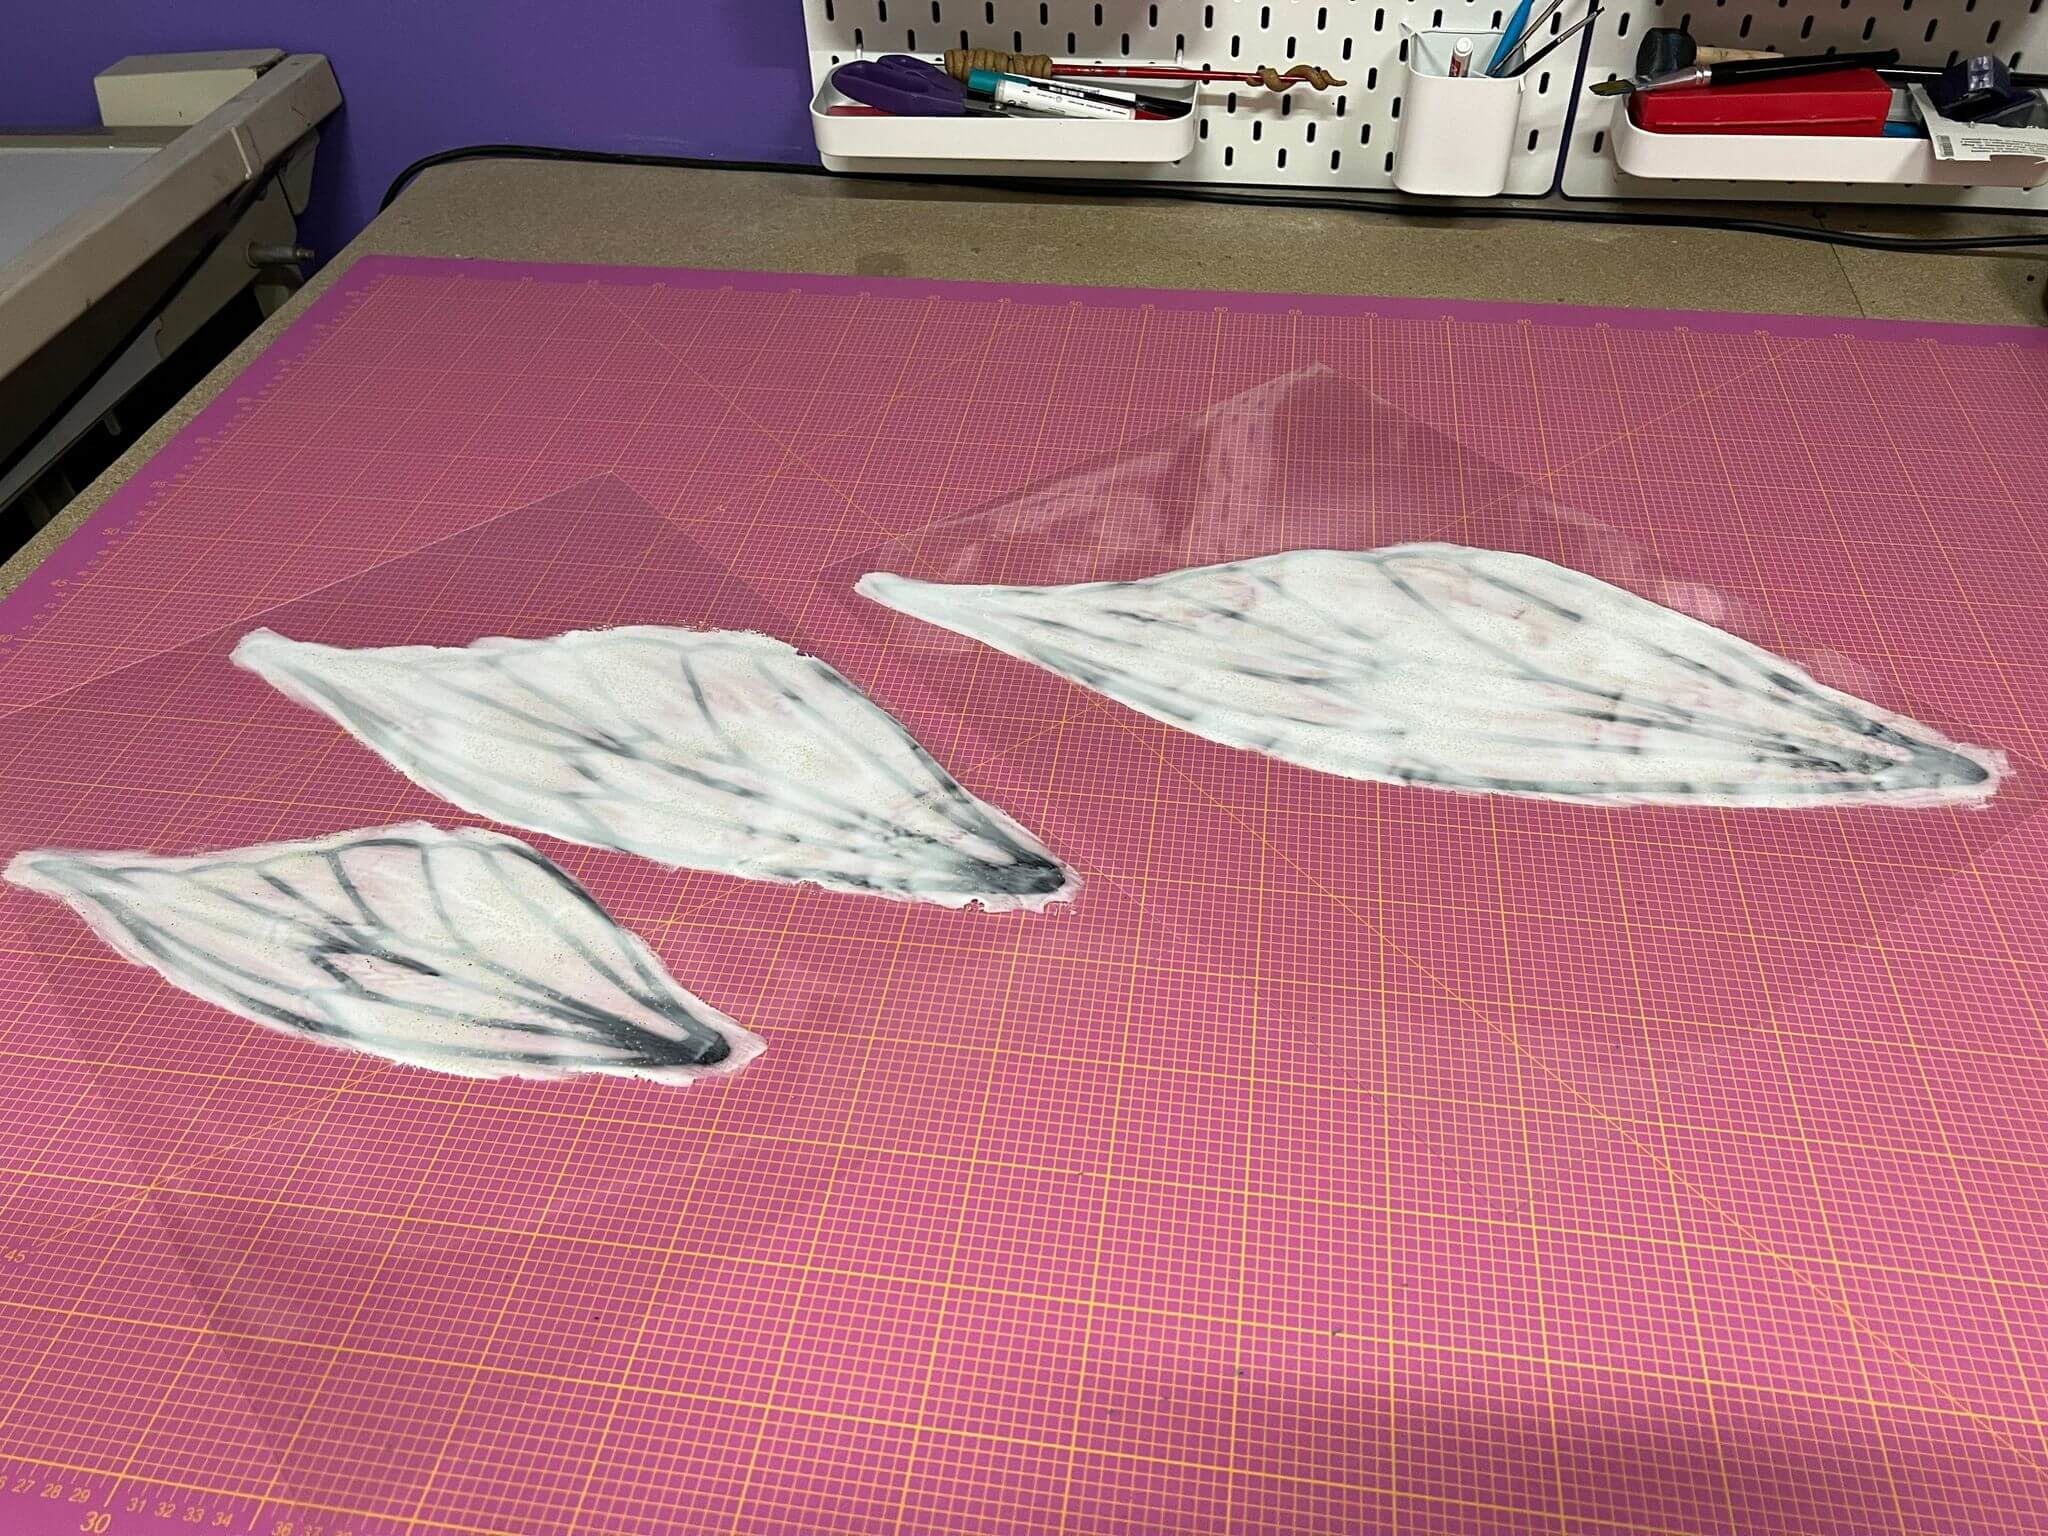
4. I mixed the PVA Primer with gold glitter and then started painting the backside of the wings with a soft brush. I first let this first layer dry thoroughly overnight, and only the next day did I continue with the next step.
5. Using Hexflex Metallic Paint in the colour Rose Gold, I started creating a shadow effect on the wings. I let this dry first until it was dry. Then I applied another layer of PVA Primer mixed with glitter in matching colours like gold and rose gold. I also let this layer dry overnight.
6. The next day I applied highlights on the wings with Hexflex Metallic Paint in the colour Royal Gold, this gives the wings a beautiful and magical effect. After this was dry, I sealed this layer again with a layer of PVA Primer mixed with different types of glitter. Let this dry again overnight.


7. Yay! The backside of your Fairy Wings are done! Fast forward to the frontside. This side goes a little differently as you read earlier in the blog. You start by applying a layer of Wing Foil first. This is best glued to your wings using a hobby glue spray that remains transparent. If you use PVA Primer for this, it will not dry fast enough to dry up transparent. I used a spray can from a local shop for my Fairy Wings.
8. First spray a thin layer of the spray glue on the Worbla Transpa Art, then you can apply the wing foil on top. Be careful and make sure you apply the wing foil neatly and tightly to the Worbla, otherwise air bubbles and folds may appear in the wing foil. If this does happen, try smoothing out the air bubbles from the centre outwards to get them out from under the wing foil.
9. Applying the wing foil makes the pattern you applied in step 2 with a permanent marker less visible. This is not a problem at all and can be solved by redrawing the pattern with the same permanent marker. This is not a compulsory step, but I personally liked the look better.
10. After this, you can repeat the same steps for the frontside as you did earlier for the backside, see steps 4, 5 and 6. In a nutshell, this means applying a layer of PVA Primer with glitter, a layer of Hexflex Metallic Paint - Rose Gold (shadow effect), a layer of PVA Primer with glitter, a layer of highlights with Hexflex Metallic Paint - Royal Gold and last but not least a layer of PVA Primer with glitter. Remember to let the wings dry thoroughly between coats.
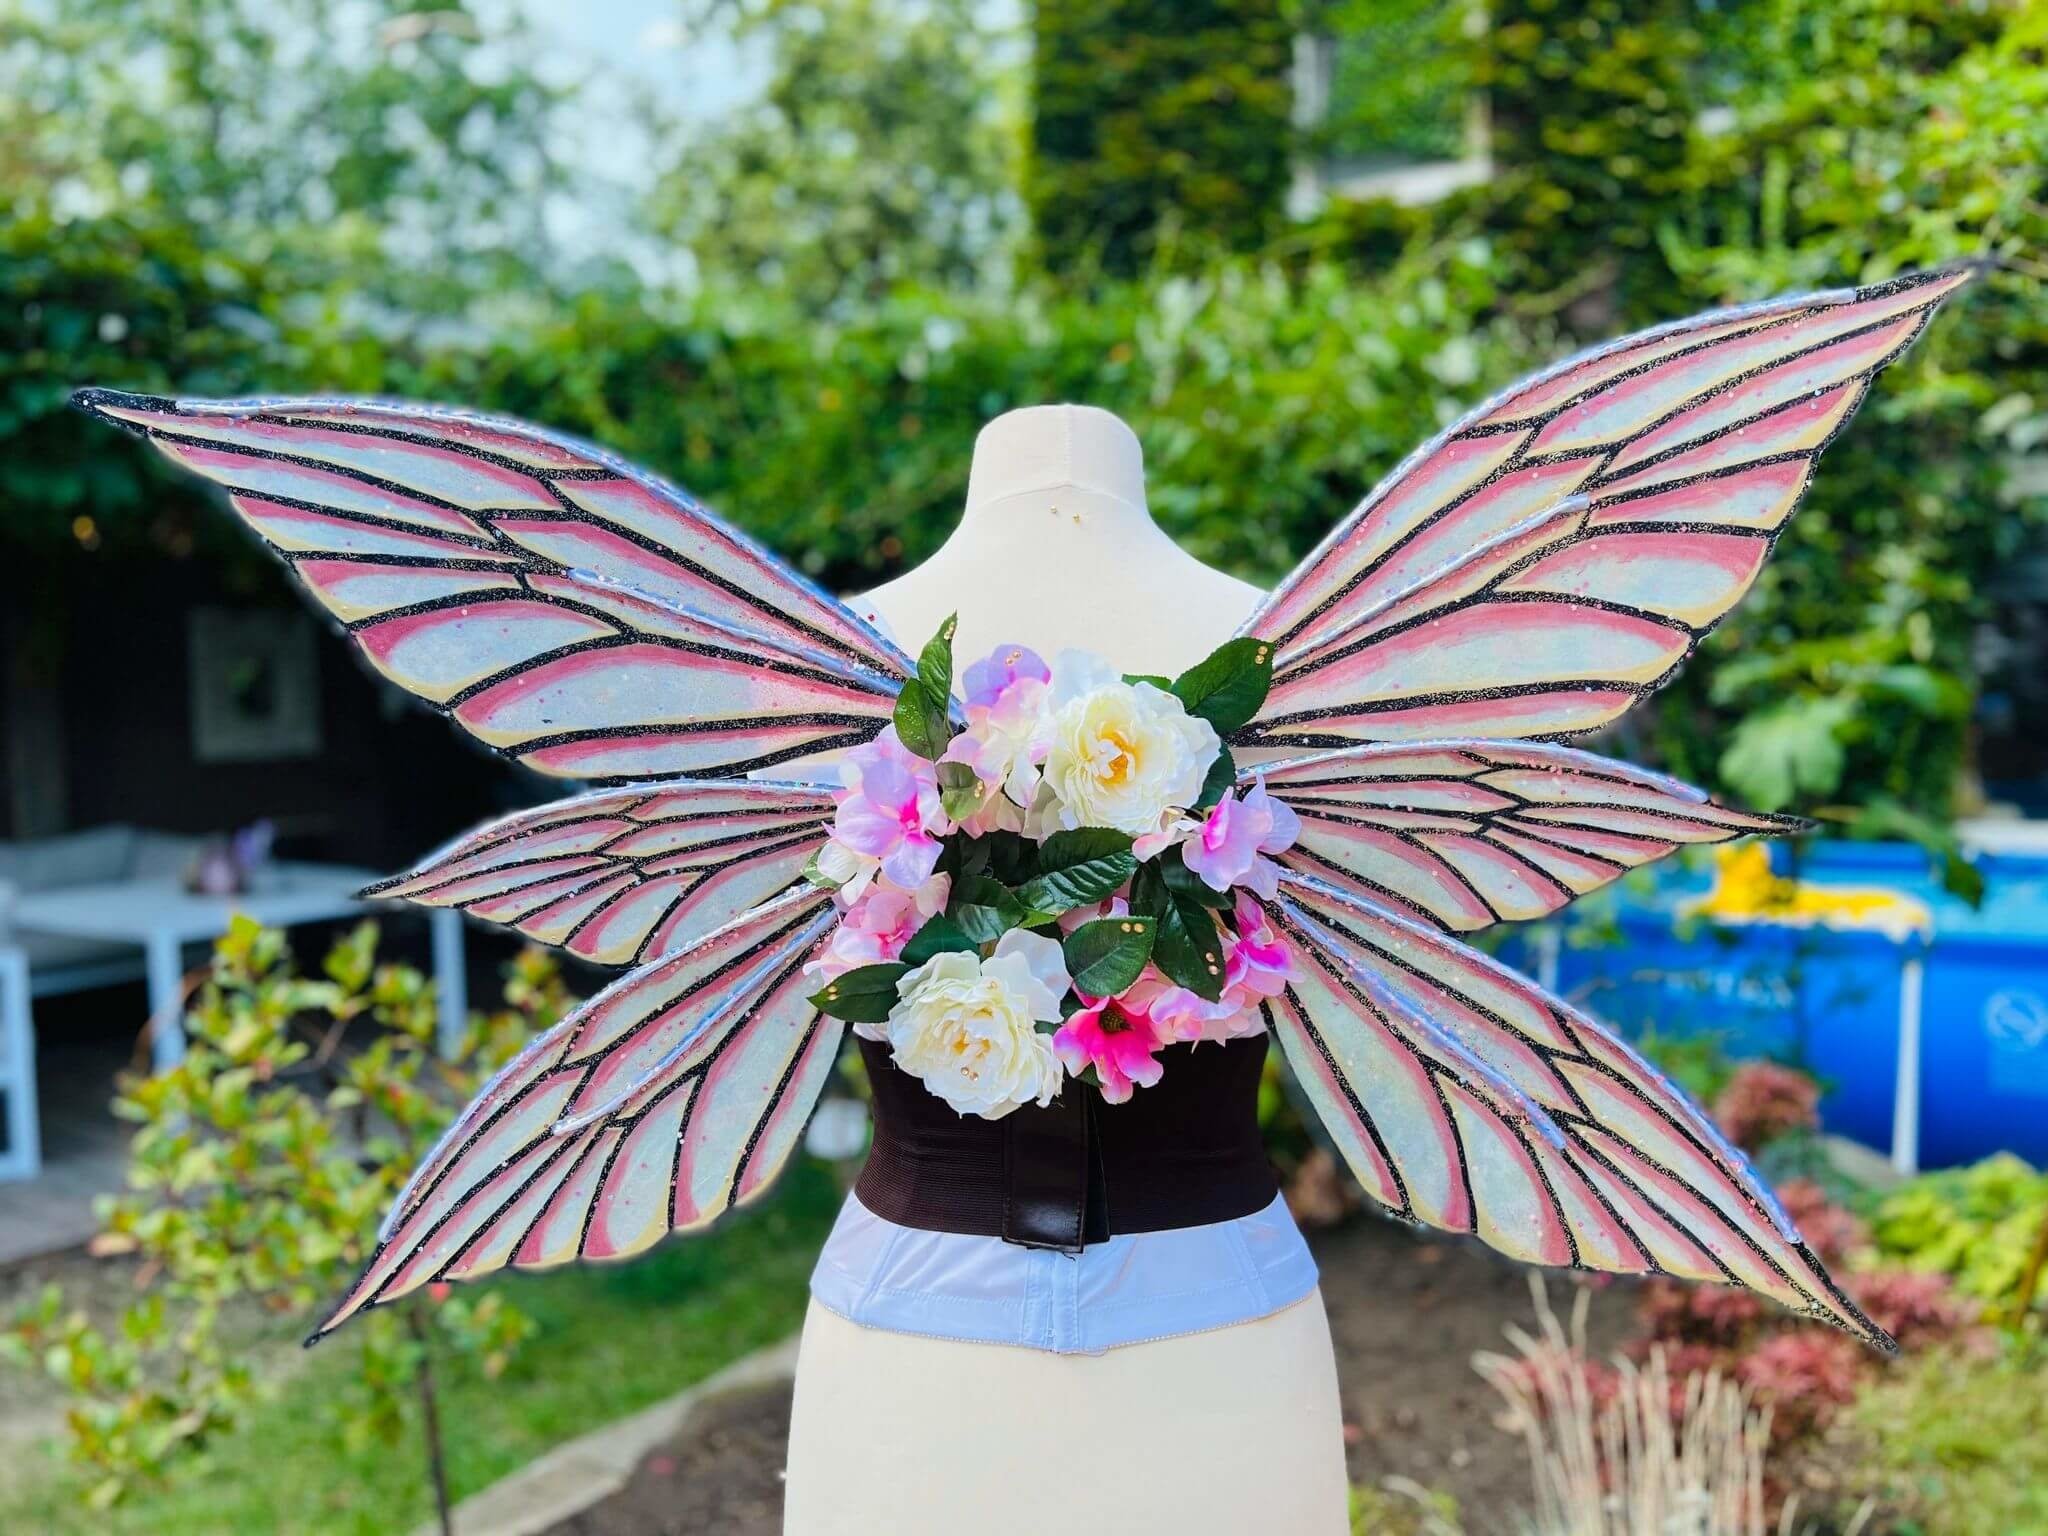
11. When you have both layers of your Fairy Wings completely finished and they are dry, it's time to cut out the wings with scissors. To attach them together, I used our Aluminium Wire 3 mm and a hot glue gun with enough hot glue to glue the aluminium wire to the wings. Glue the aluminium wire to the backside (the side without Wing Foil). Make sure the aluminium wire at the bottom of your wings sticks out quite a bit so you can wrap the ends of the aluminium wire together. Depending on your wings, you will need at least 2 or 3 pieces of aluminum wire to make the wings sturdy. This will prevent the wings from hanging down while wearing them and moving around.
12. Once everything is firmly attached, you can wrap the wire together at the desired location in a round or U-shape pattern. You can finish this off neatly by wrapping insulating tape over the aluminium wire. I then applied fake flowers over the tape and stuck them on with hot glue to literally disguise the tape. Lastly, I attached 2 wide bands of elastic band to the round frame so that I could put my arms through them and carry the wings comfortably on my back.


Comments
Be the first to comment...